Hello World!
In this tutorial, you’ll create and publish your first bot onto Swiftchat. Following are the high level steps:
Create Swiftchat business account
Setup a Bot in Swift chat
Clone the repo “Chatbot Starter Kit”
Host the bot locally using ngrok
Add webhook url on Bot dashboard
1. Create Swiftchat Business Account
If you’ve not setup a Swiftchat account yet, please follow the instructions here. You should also obtain your API Key which will be used to call Swiftchat APIs.
2. Setup a Bot in Swiftchat
To publish our bot on Swiftchat, we need to setup a Bot on Swiftchat Dashboard. Please follow the instructions to set up one.
3. Clone the repo “Chatbot Starter Kit”
You may any framework to build your backend. To quick start, we’ve created a Chatbot Starter Kit. It has a sample code structure of a typical Bot application, which will help you to kick start without wasting time on setting up boilerplate code. Please follow the README given in repo to setup and run the code.
Make Changes to the Starter Kit Code as per your Bot Configurations
Open the cloned respository in your preferred code editor
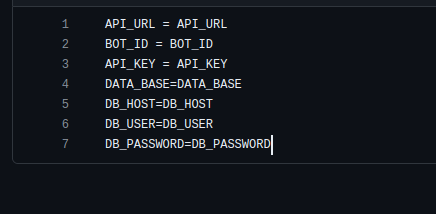
Navigate to .env.text file and change it’s name to .env. Update the value of .env file with your actual data.
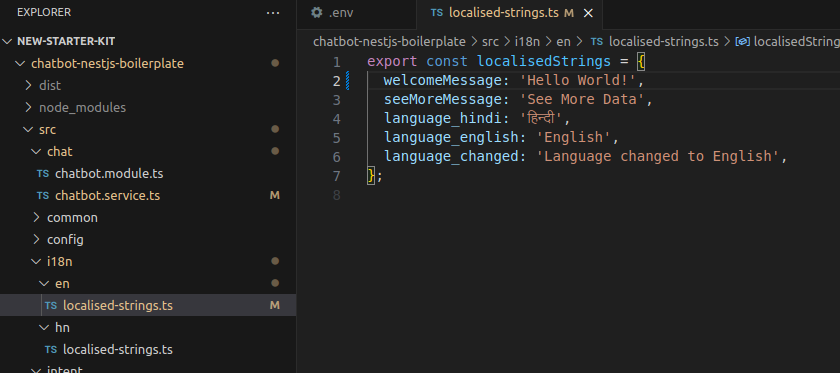
Now navigate to the i18n folder and then access the en and hn files. Update the welcome message as required and save the changes. Here we will add “Hello World” to demonstrate
4. Host the bot locally using ngrok
You can either publish this application on various cloud services like Heroku, Firebase, AWS, etc. or you can try NGRok which will create a reverse proxy for your locally hosted bot. Follow the instructions from the NGRok official website to generate a URL for your locally running bot application. Once the URL is generated, set this URL as a webhook URL on the Swiftchat dashboard of your bot.
Your bot is now ready, you can test it by visiting the bot URL and saying “hi”. It’ll print a welcome message as configured in the Chatbot Starter Kit. Now it’s up to you, how you want to customize it.